How to Install Android Studio
In this tutorial, we will go over how to install Android Studio.
Android Studio is a program / IDE (Integrated Development Environment) that allows you to develop applications and libraries (individual pieces of software) for the Android operating system.
So, let's begin.
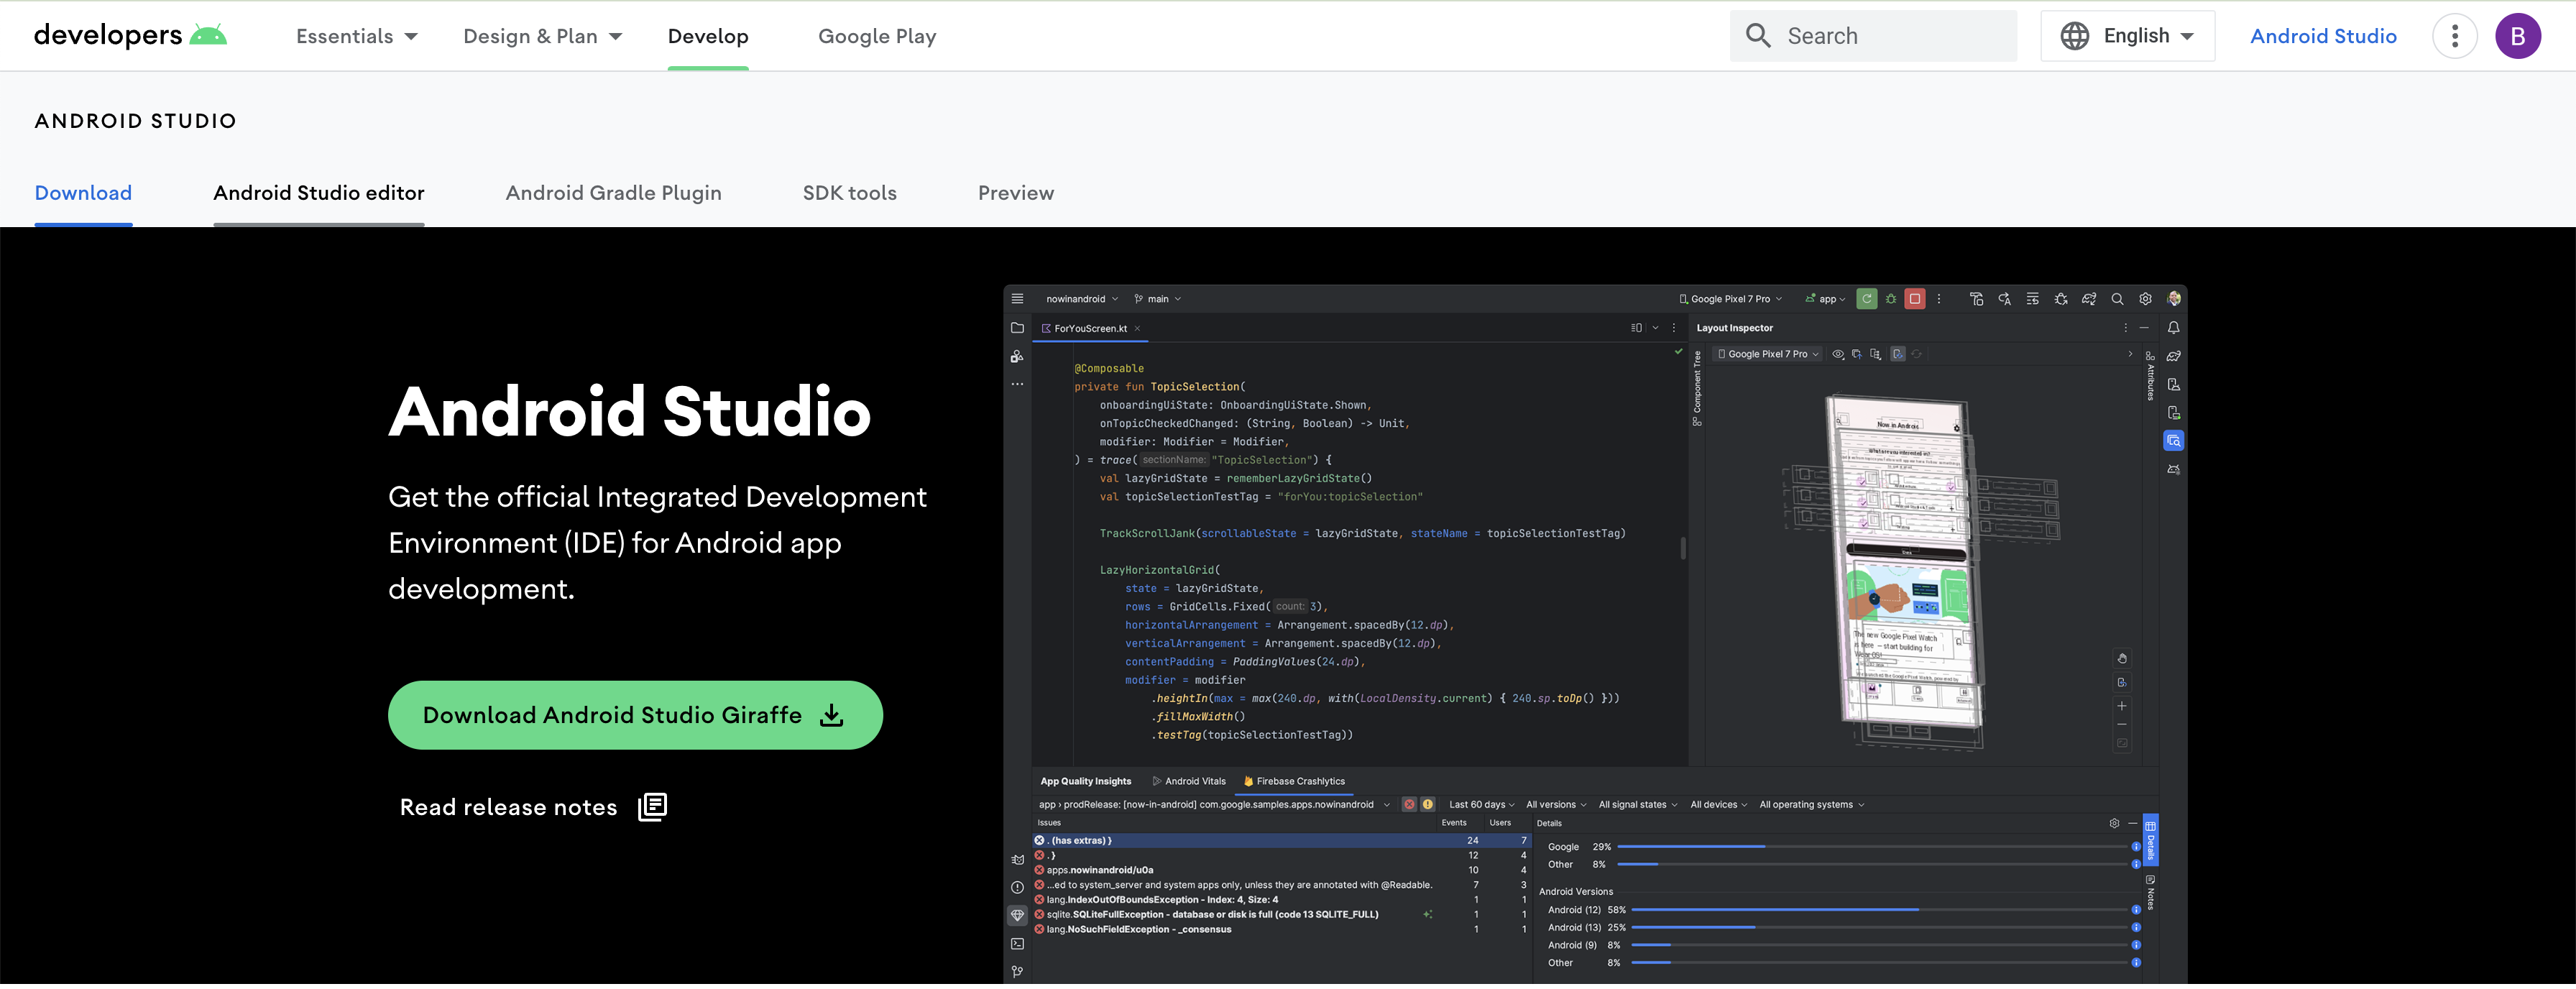
We can download Android Studio from the official website - Download Android Studio. The website will automatically detect your operating system and offer you the appropriate version. Visit the website and just click the Download Android Studio button.
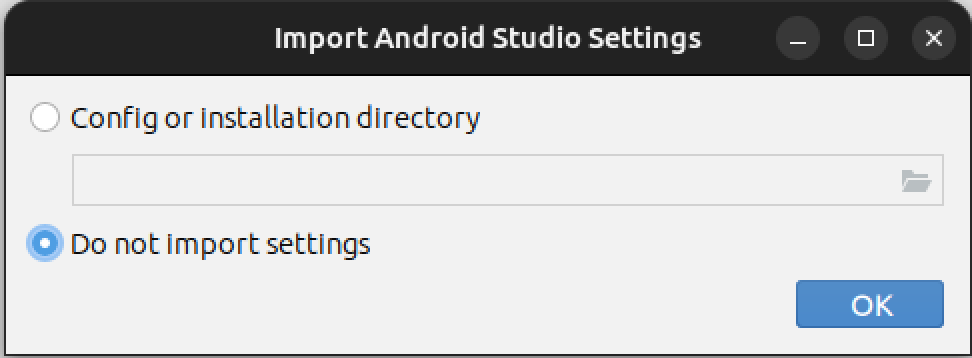
After downloading and installing the program, launch it. You will immediately see a loading window and the first stage of setup, where you'll be asked if you want to import settings from previous versions.
For beginners, I recommend using all the recommended settings. Therefore, choose "Do not Import settings."
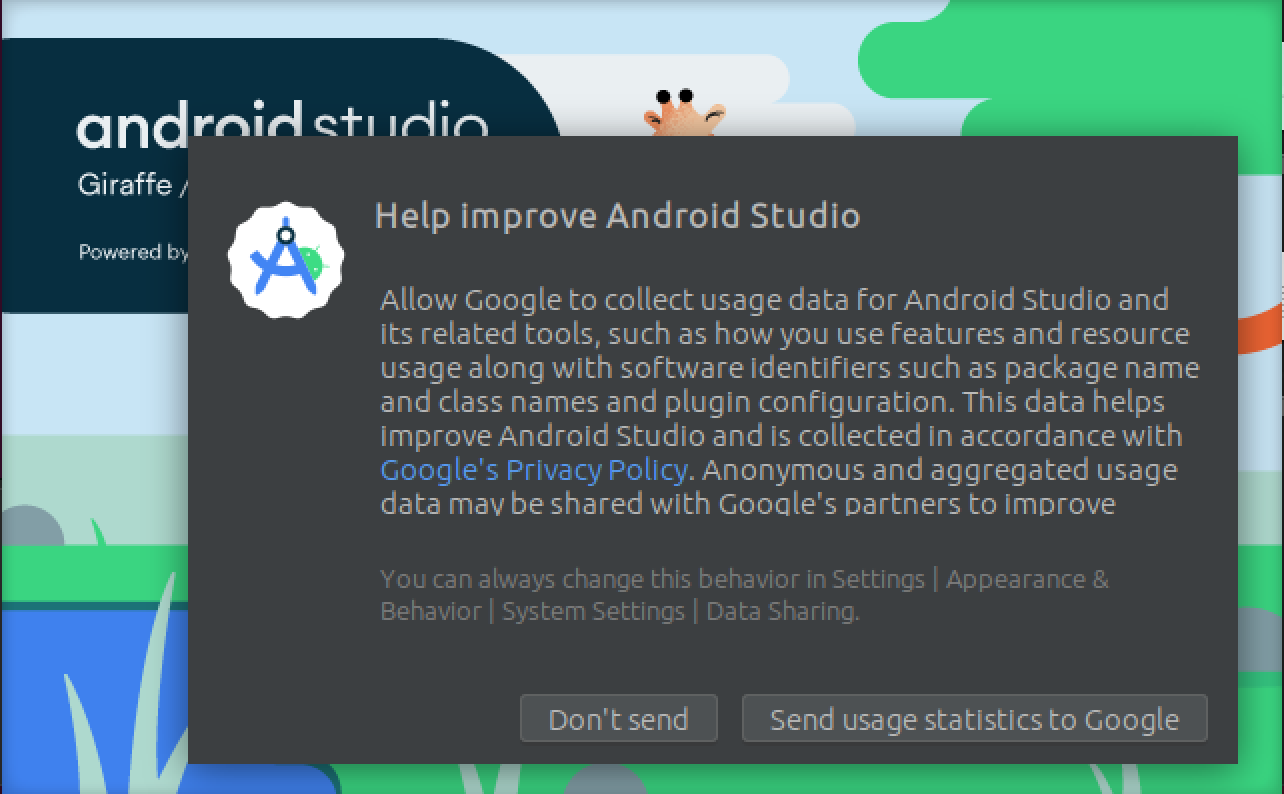
In the next stage, Android Studio will ask if you want to allow sending analytics to Google. The choice is yours. I usually click "Don't send."
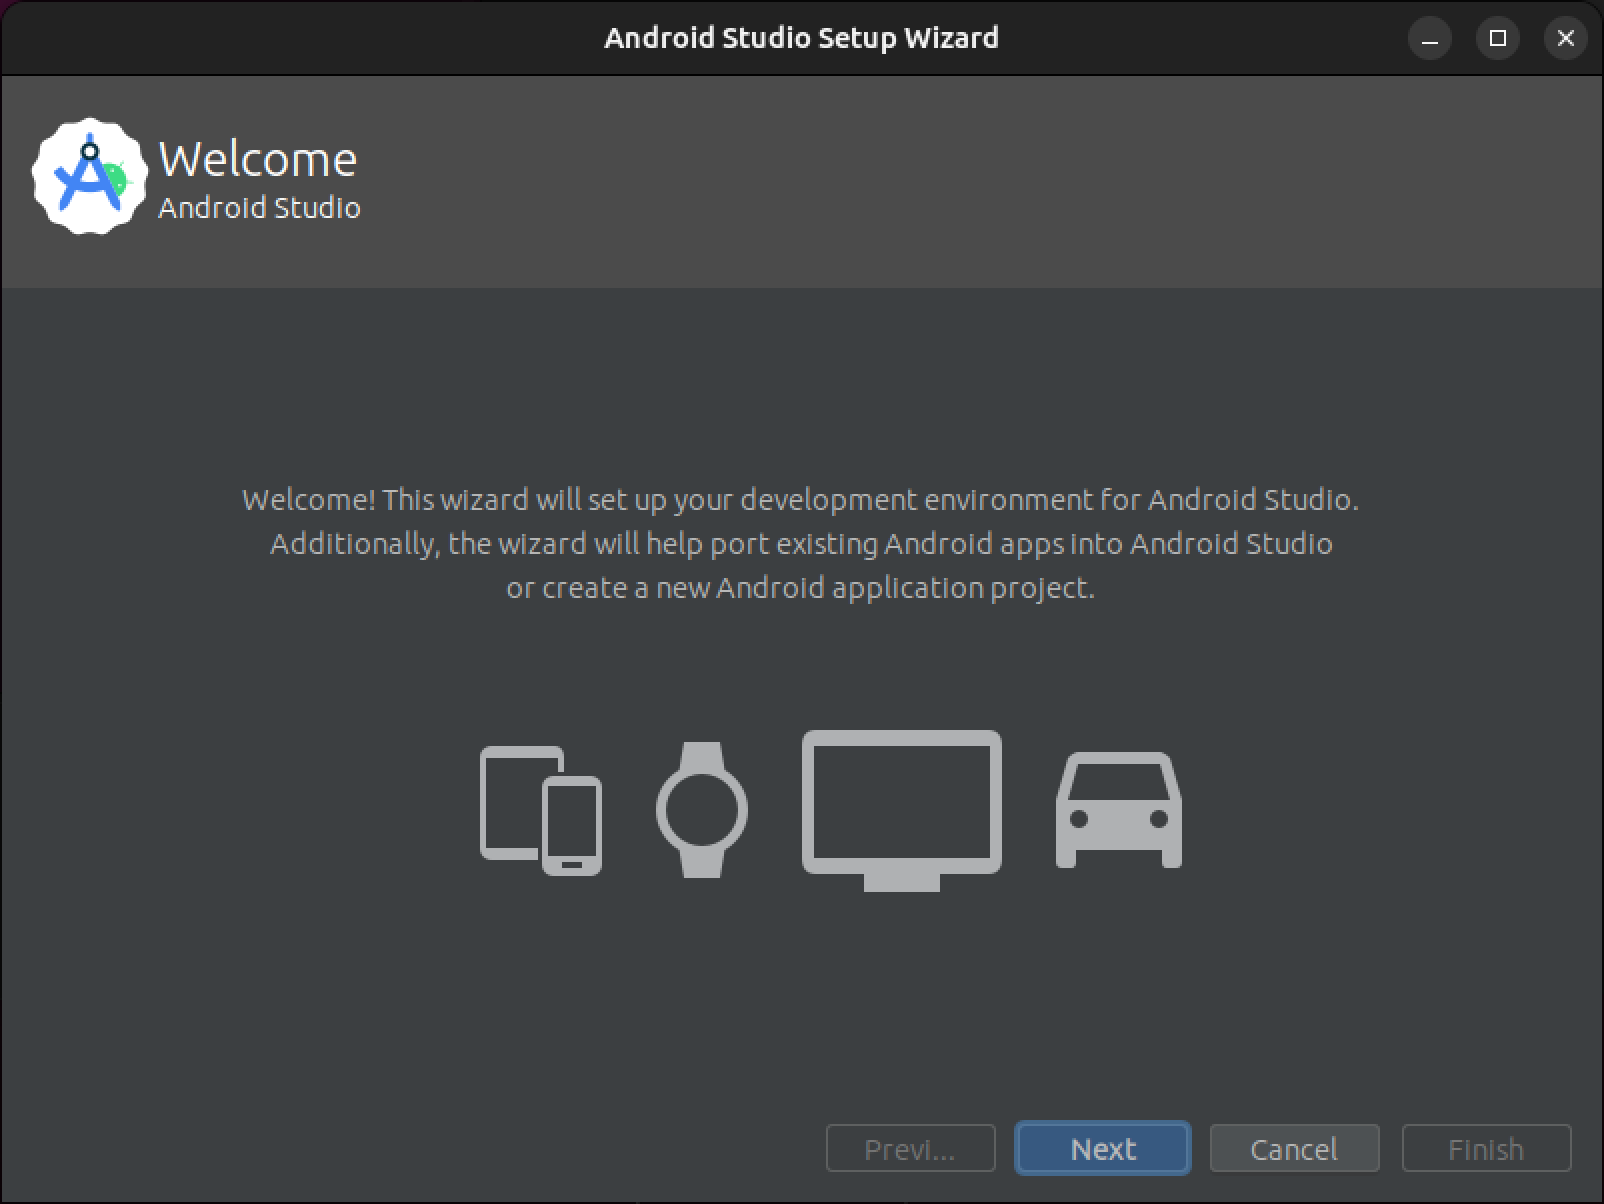
After this, you'll see a welcome window. Simply click the "Next button."
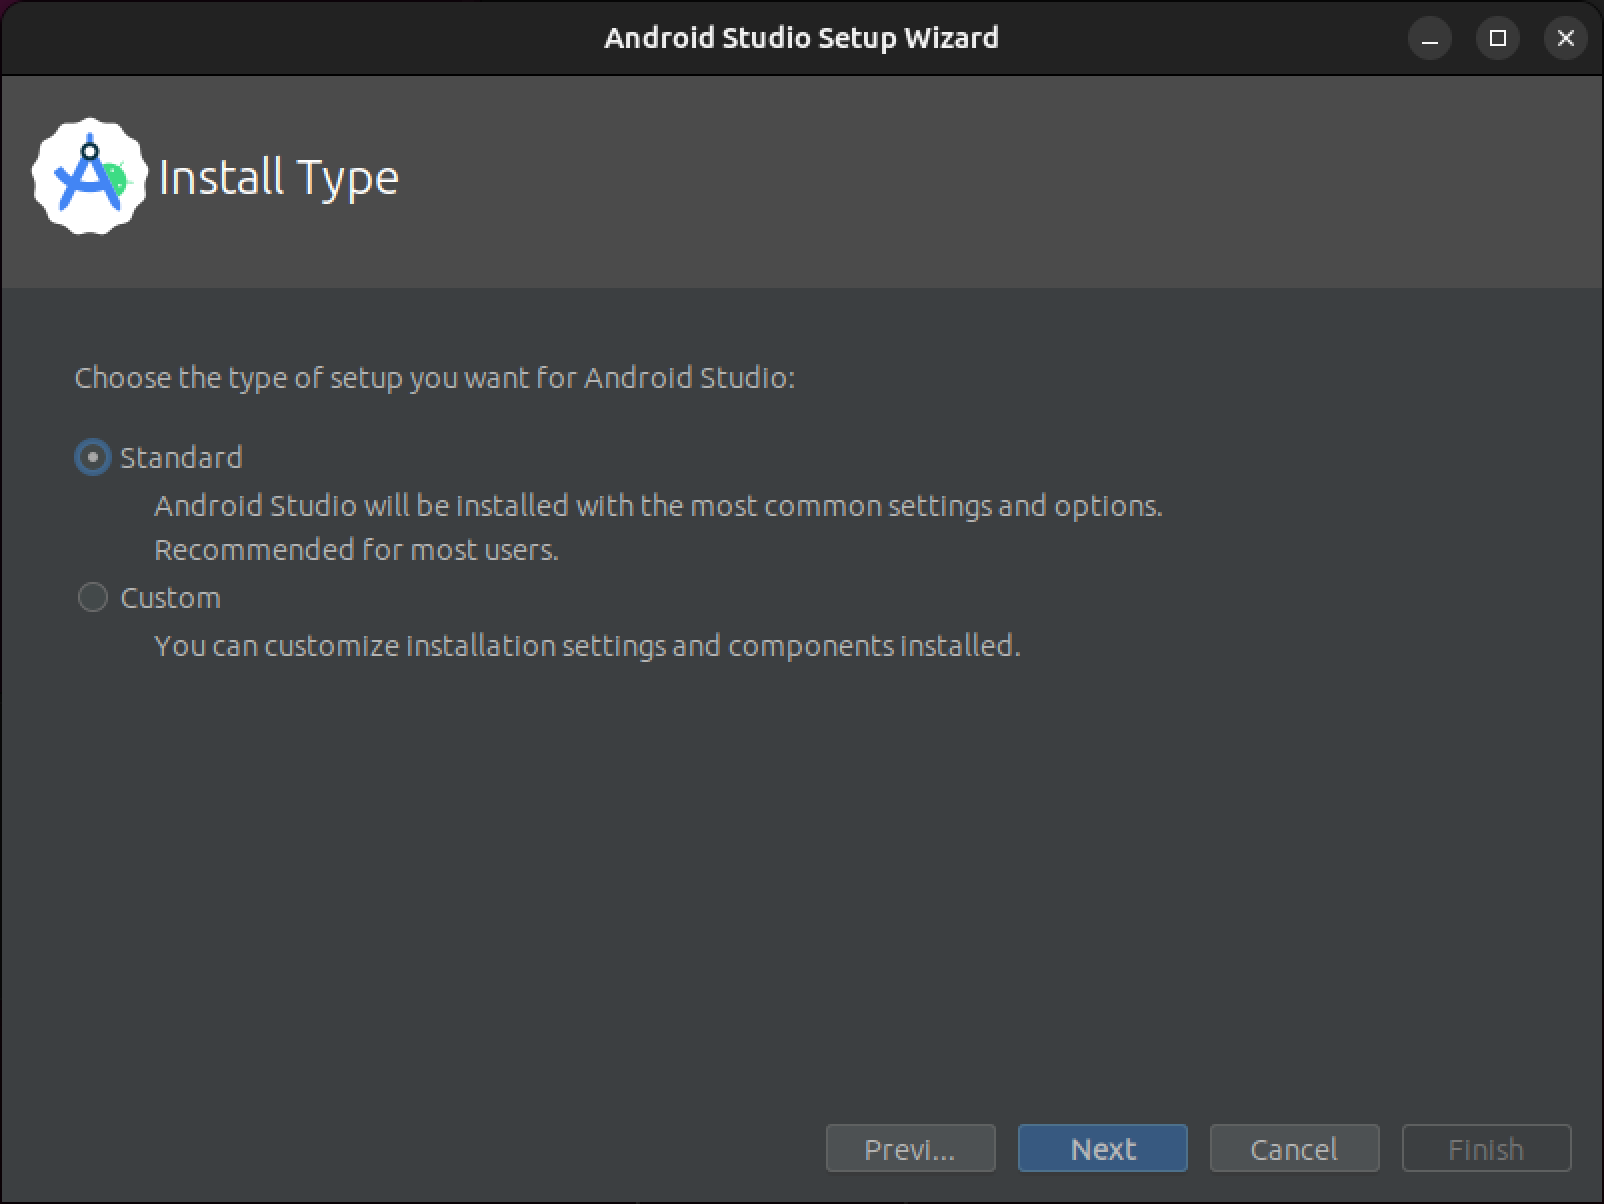
On the next screen, you'll be asked to choose the installation type: Standard or Custom. If you're reading this article, you should choose Standard and click Next.
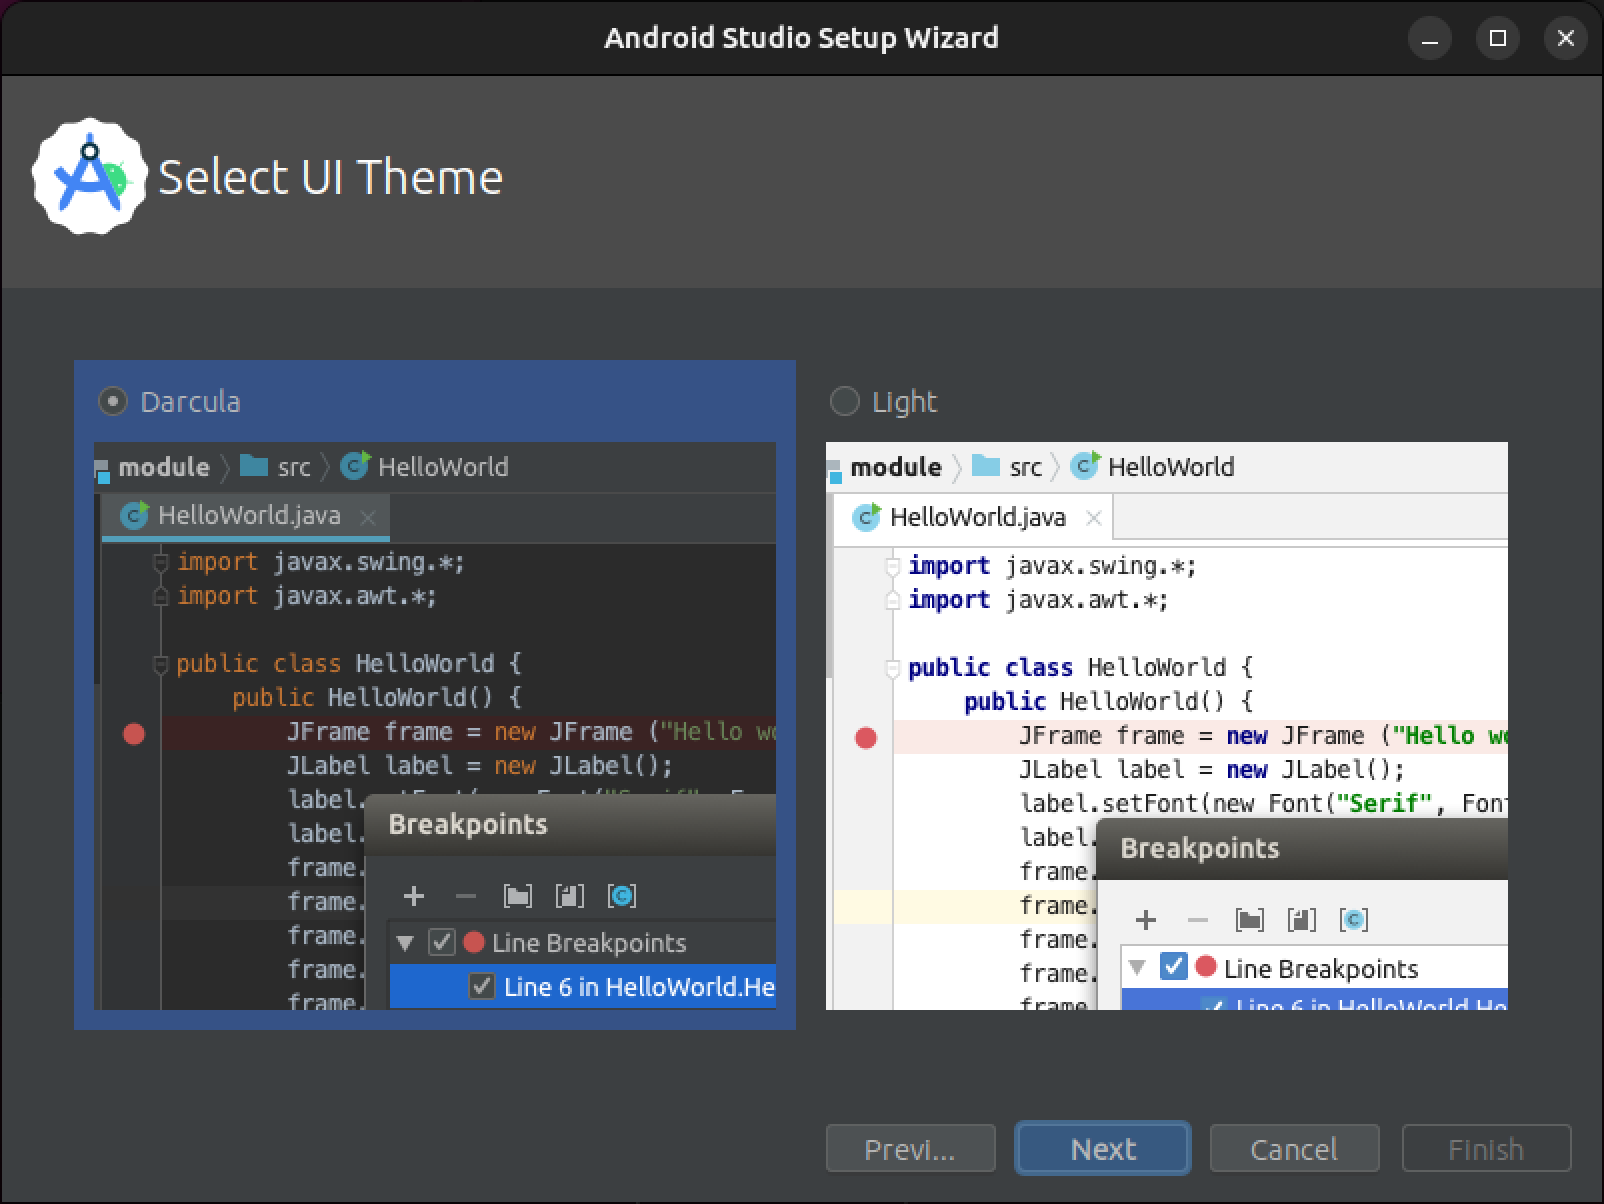
Once you've selected the installation type, you'll choose a theme: Light or Dark (Darcula), and then click the Next button. I prefer to use Dark theme
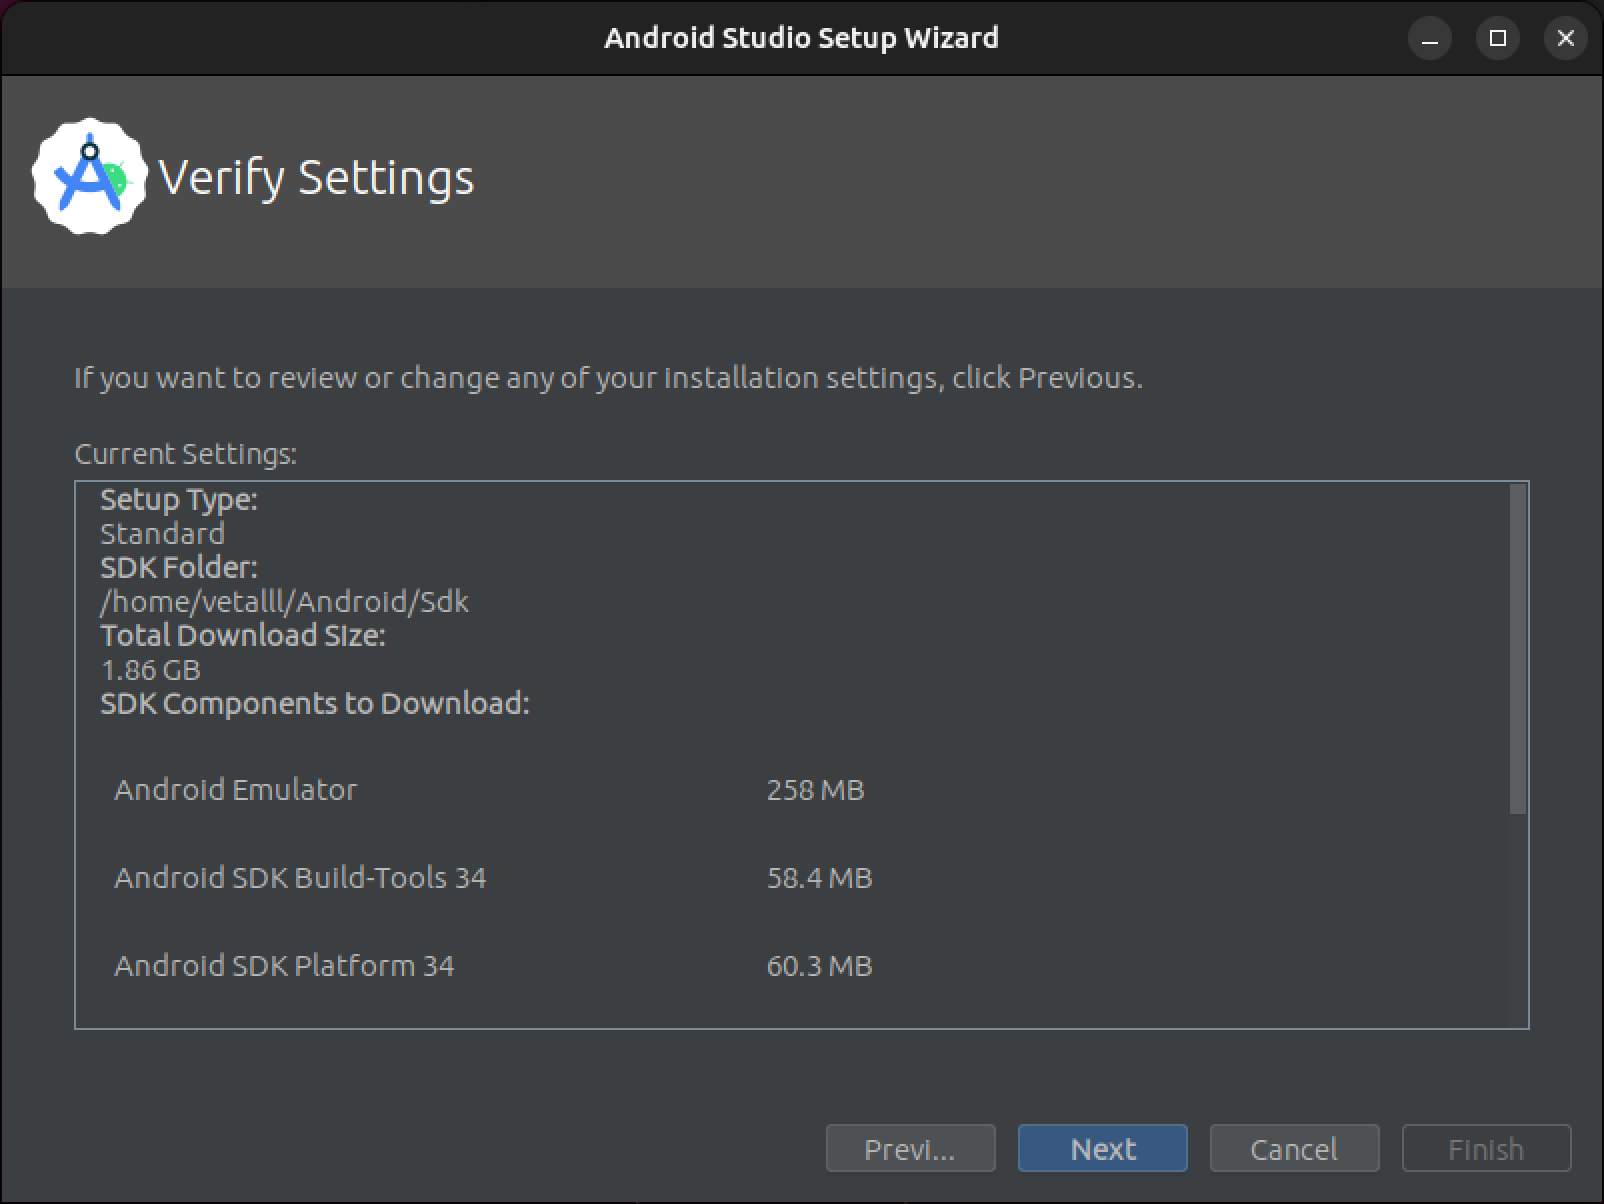
After choosing the theme, you'll be asked to confirm the selected settings. Here, you simply click Next.
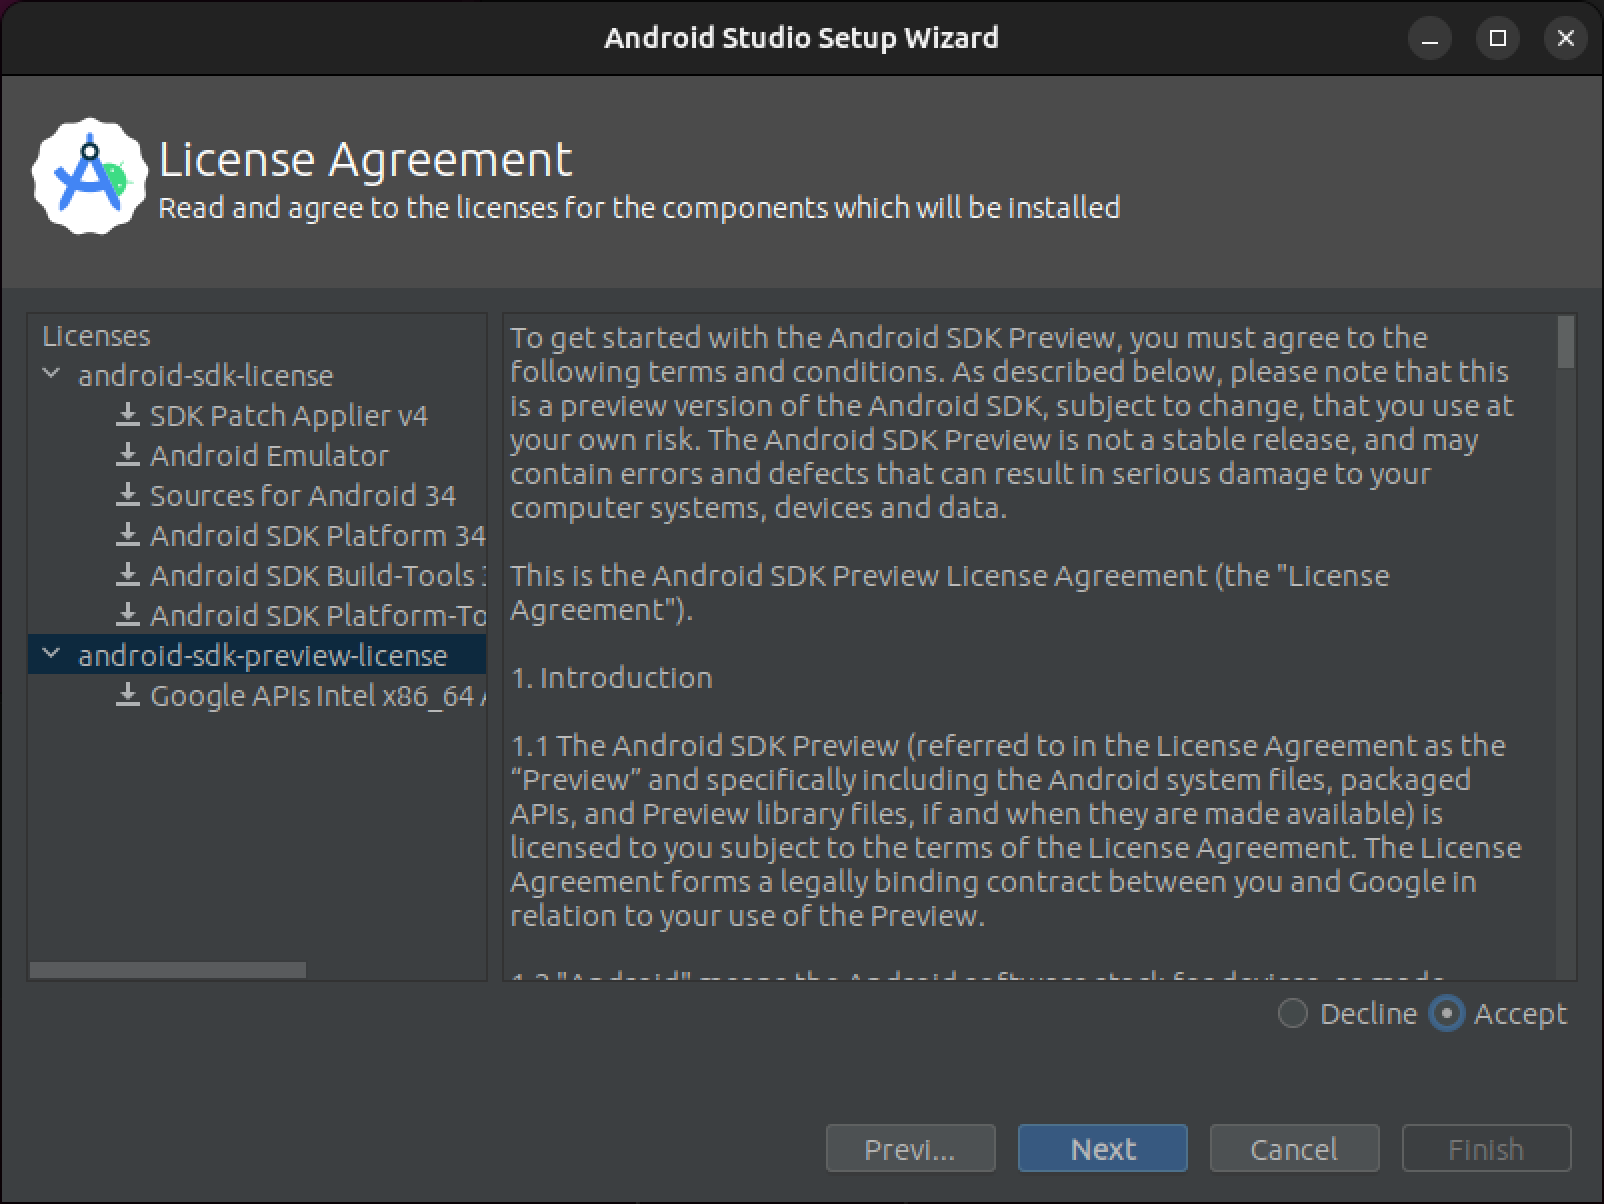
And the final step is to accept the terms of the licensing agreements for third-party libraries, emulators, SDK, and so on. Select a group, click Accept. Repeat this for all groups. Accept all agreements. The Finish button should become active. And of course, you need to click this Finish button.
Wait for Android Studio to download all the necessary dependencies (this might take about 10 minutes) and then click the Finish button.
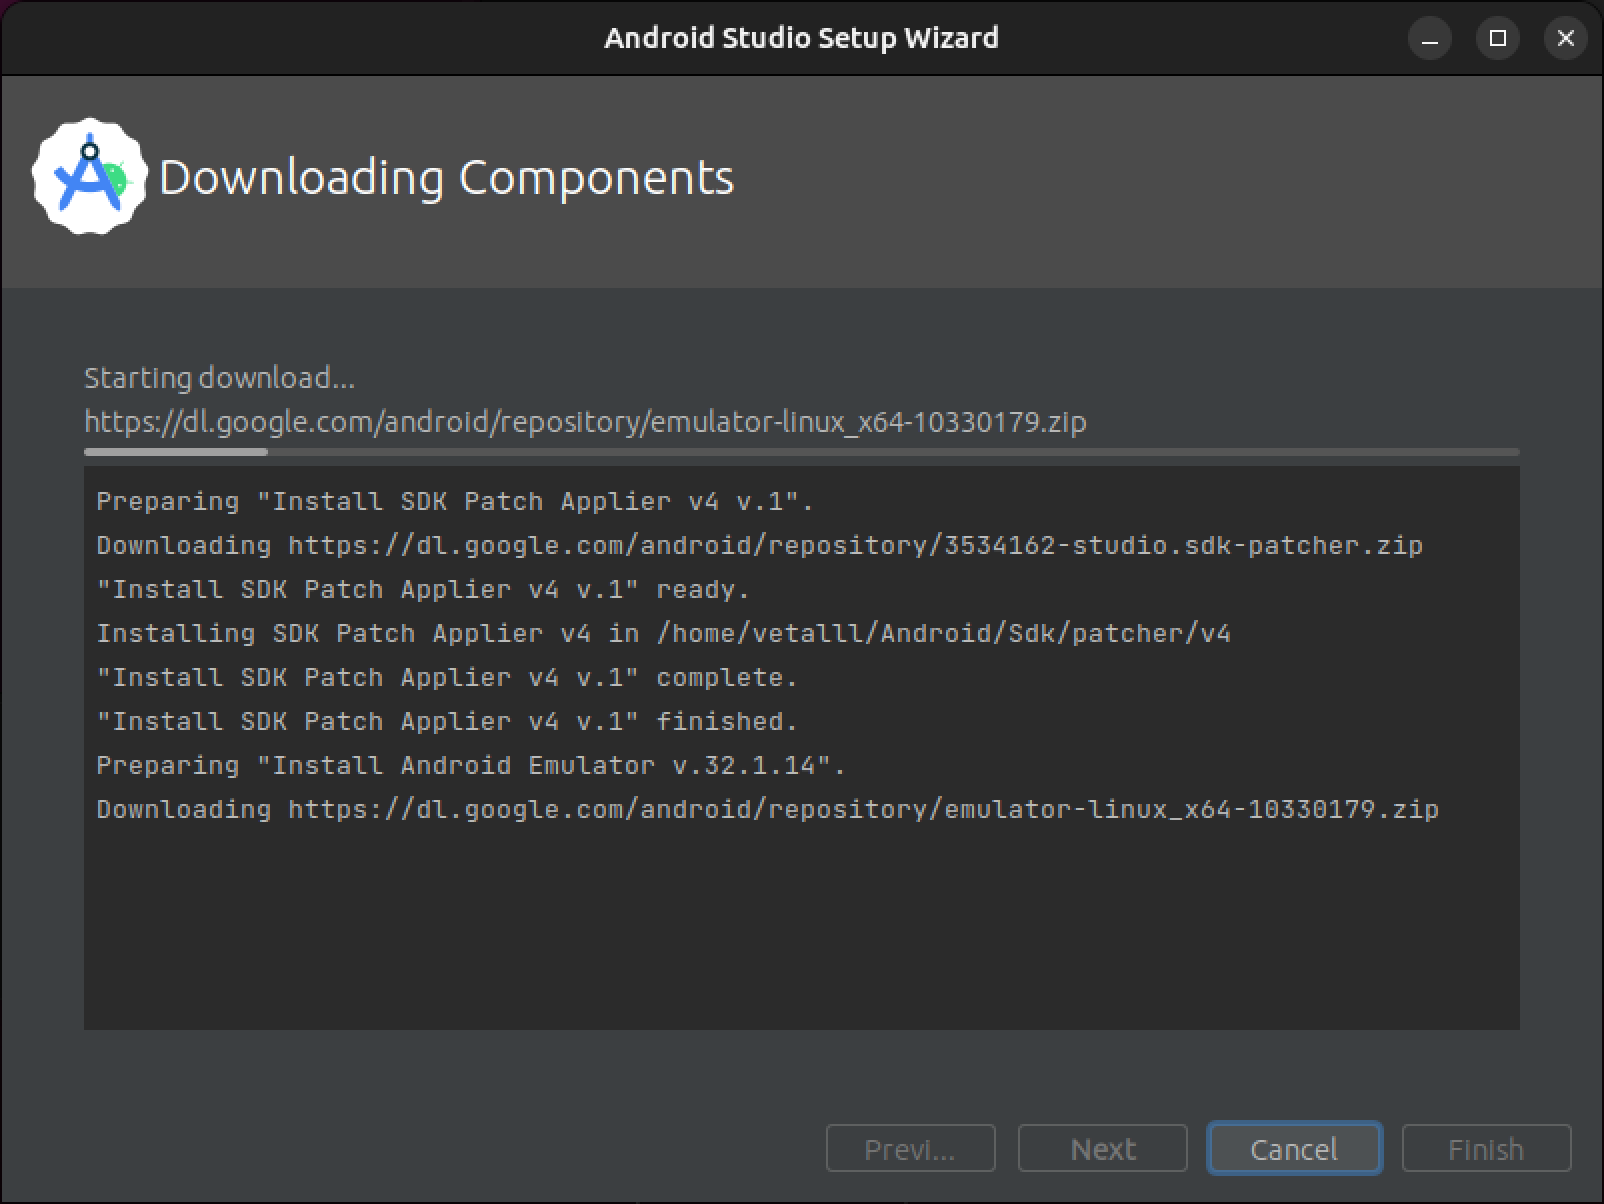
Congratulations! You've downloaded and installed Android Studio. In the next lesson, we will create our first Hello World project and run it on the emulator.
Have a question? Ask our community in Telegram - Start-Develop RU / Start-Develop EN