Create Android project with XML based UI.
In this lesson, we will create our first project, explore the project structure, and understand the purpose of the project files.
We will be creating a project based on XML UI. I understand that XML is already outdated (or may have become outdated if you're reading this in 2025). However, I still suggest starting with the basics. For those who don't want to read XML or want to skip it, I will mark lessons related to UI for easy understanding of the content.
Right after the start of Android Studio you will see next window:

You may notice that I have a list of previous projects. For you it should be empty with some options how to create or clone the project. Just ignore that and simply click on "New Project." button.

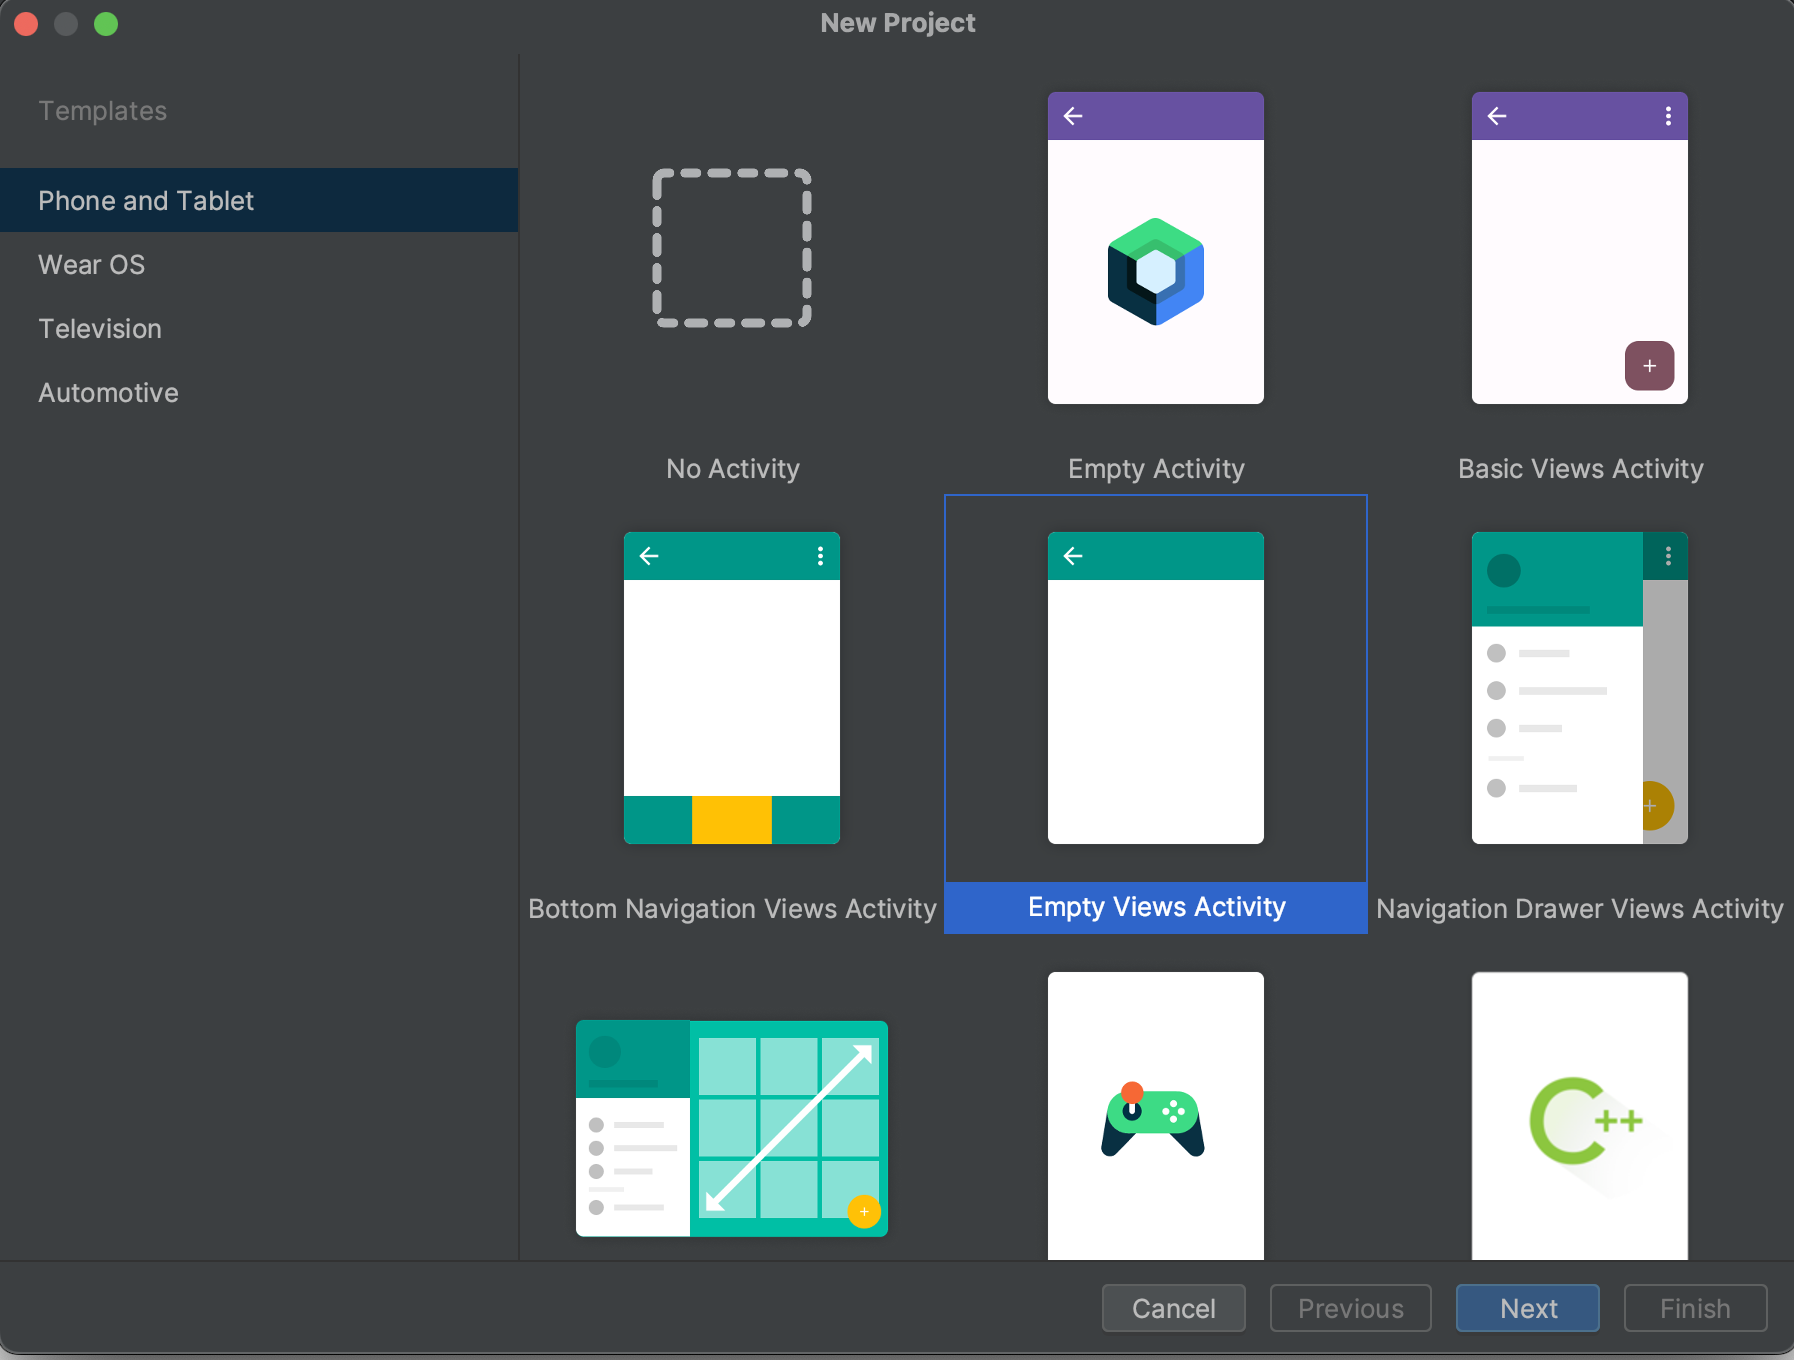
Afterward, you will see a template selection window. This is a pre-built project with minimal files. Choose "Empty Views Activity" which is a project that uses XML for building the UI.

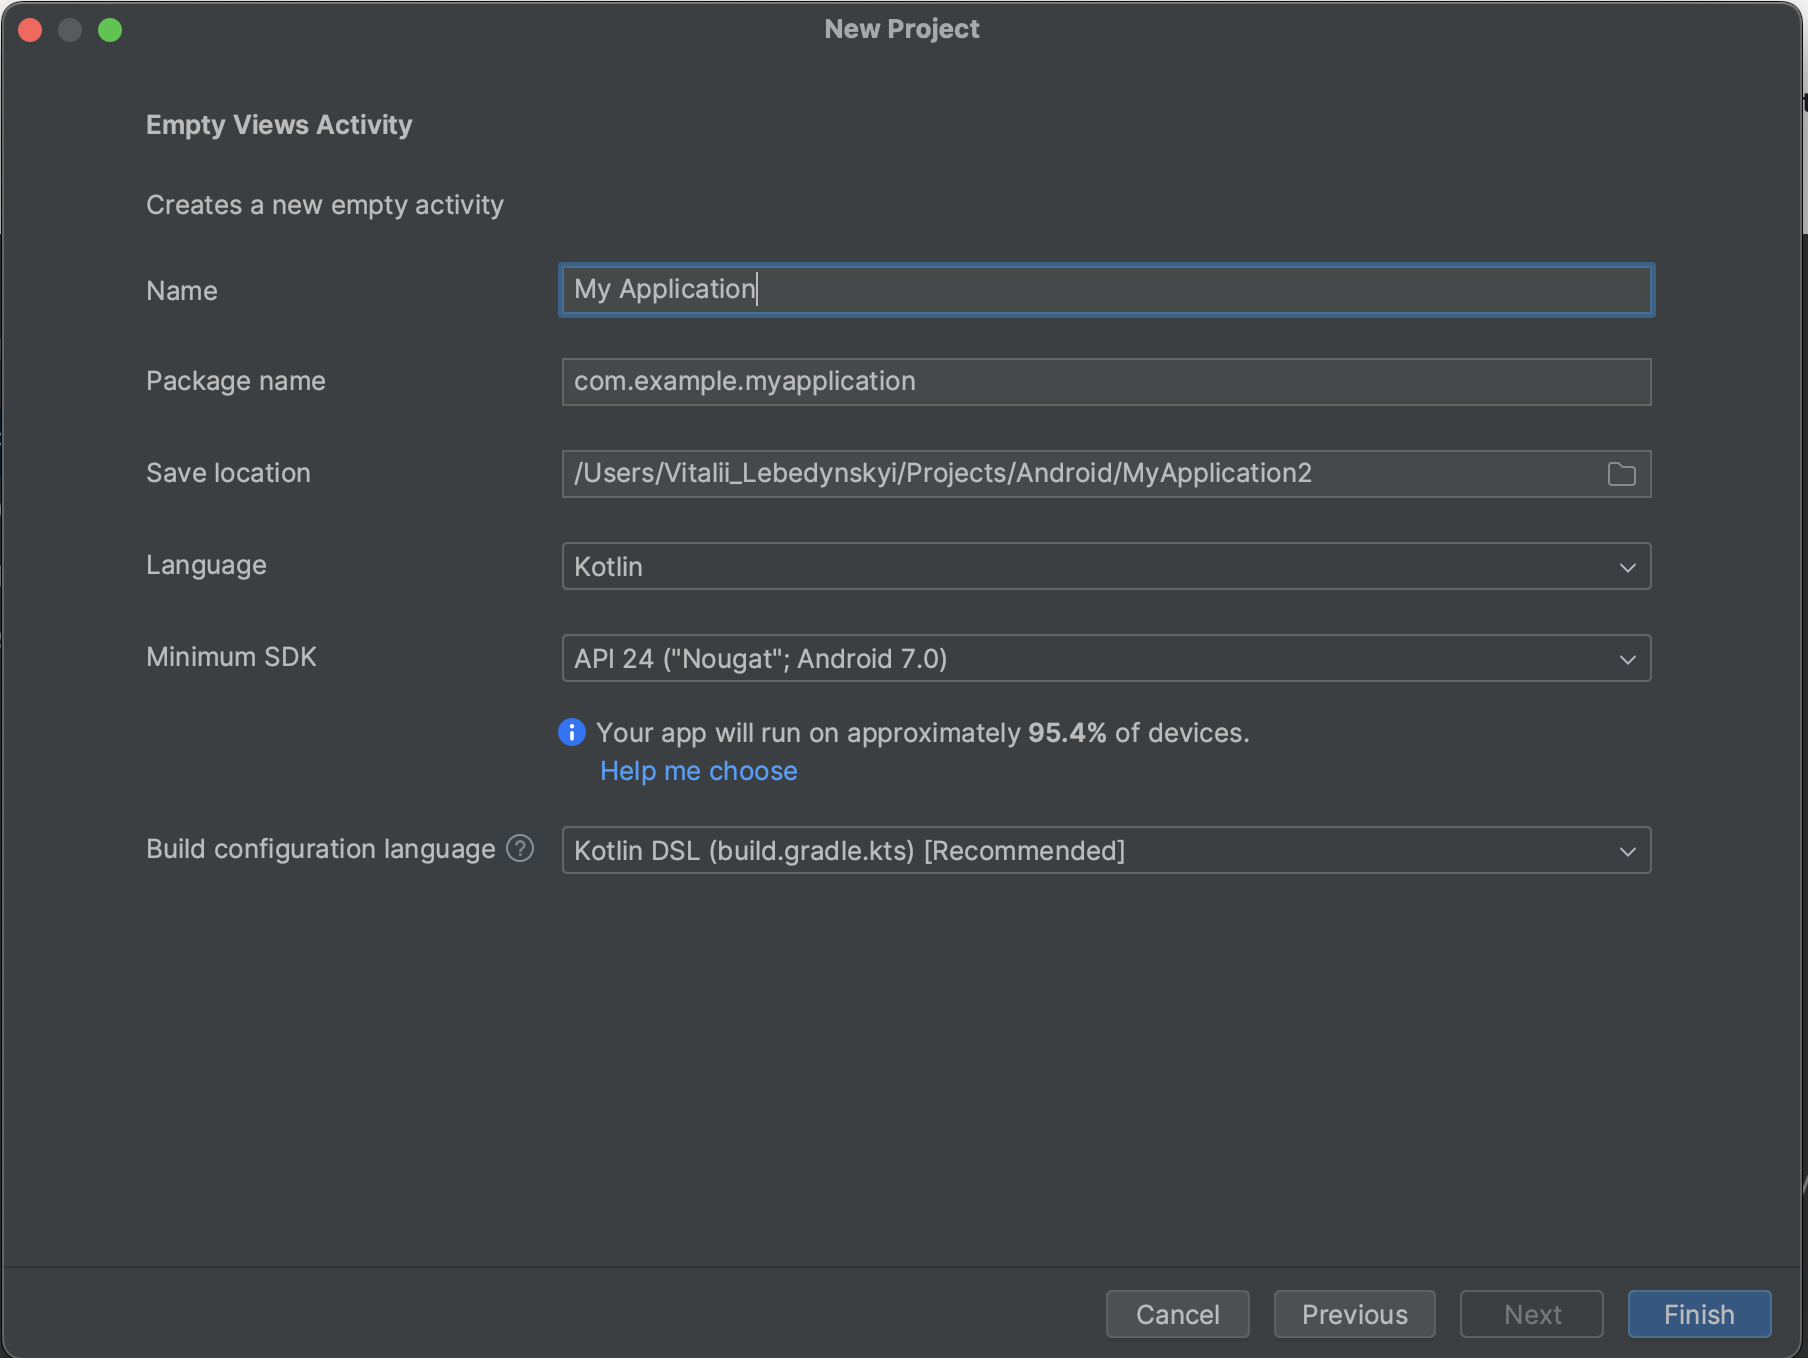
Next, you'll see a project configuration screen. Here, you'll be asked for the project name, package name, folder where the project will be saved, and so on. Leave everything as it is, but I'll provide a description and details right after the screenshot:

- Name: This is the folder name on your disk and the name displayed on phones and emulators' home screens.
- Package name: This is your internal ID of the project. I'll keep everything unchanged in this lesson.
- Save Location: This is the path to the project. Choose the disk and folder where the project will be saved. Android Studio will remember this choice for next time.
- Language: This is the programming language for your project. In our case, it's Kotlin. You can choose Java, but Java is no longer commonly used for Android app development.
- Minimum SDK: This is the minimum Android version on which you want your app to run. Leave it as is; Android 7 is sufficient.
- Build configuration language: This is a language which used to write configuration files for our project. Lets keep Kotlin don't change anyt
Here it is. I recommend not making any changes and simply clicking "Finish." After that, we will see the main Android Studio window, which will display the synchronization status.
Here, in the lower right corner, we can see the download process. Android Studio is downloading the necessary files from Google servers. This process may take around 10 minutes, depending on the computer's power and internet speed.
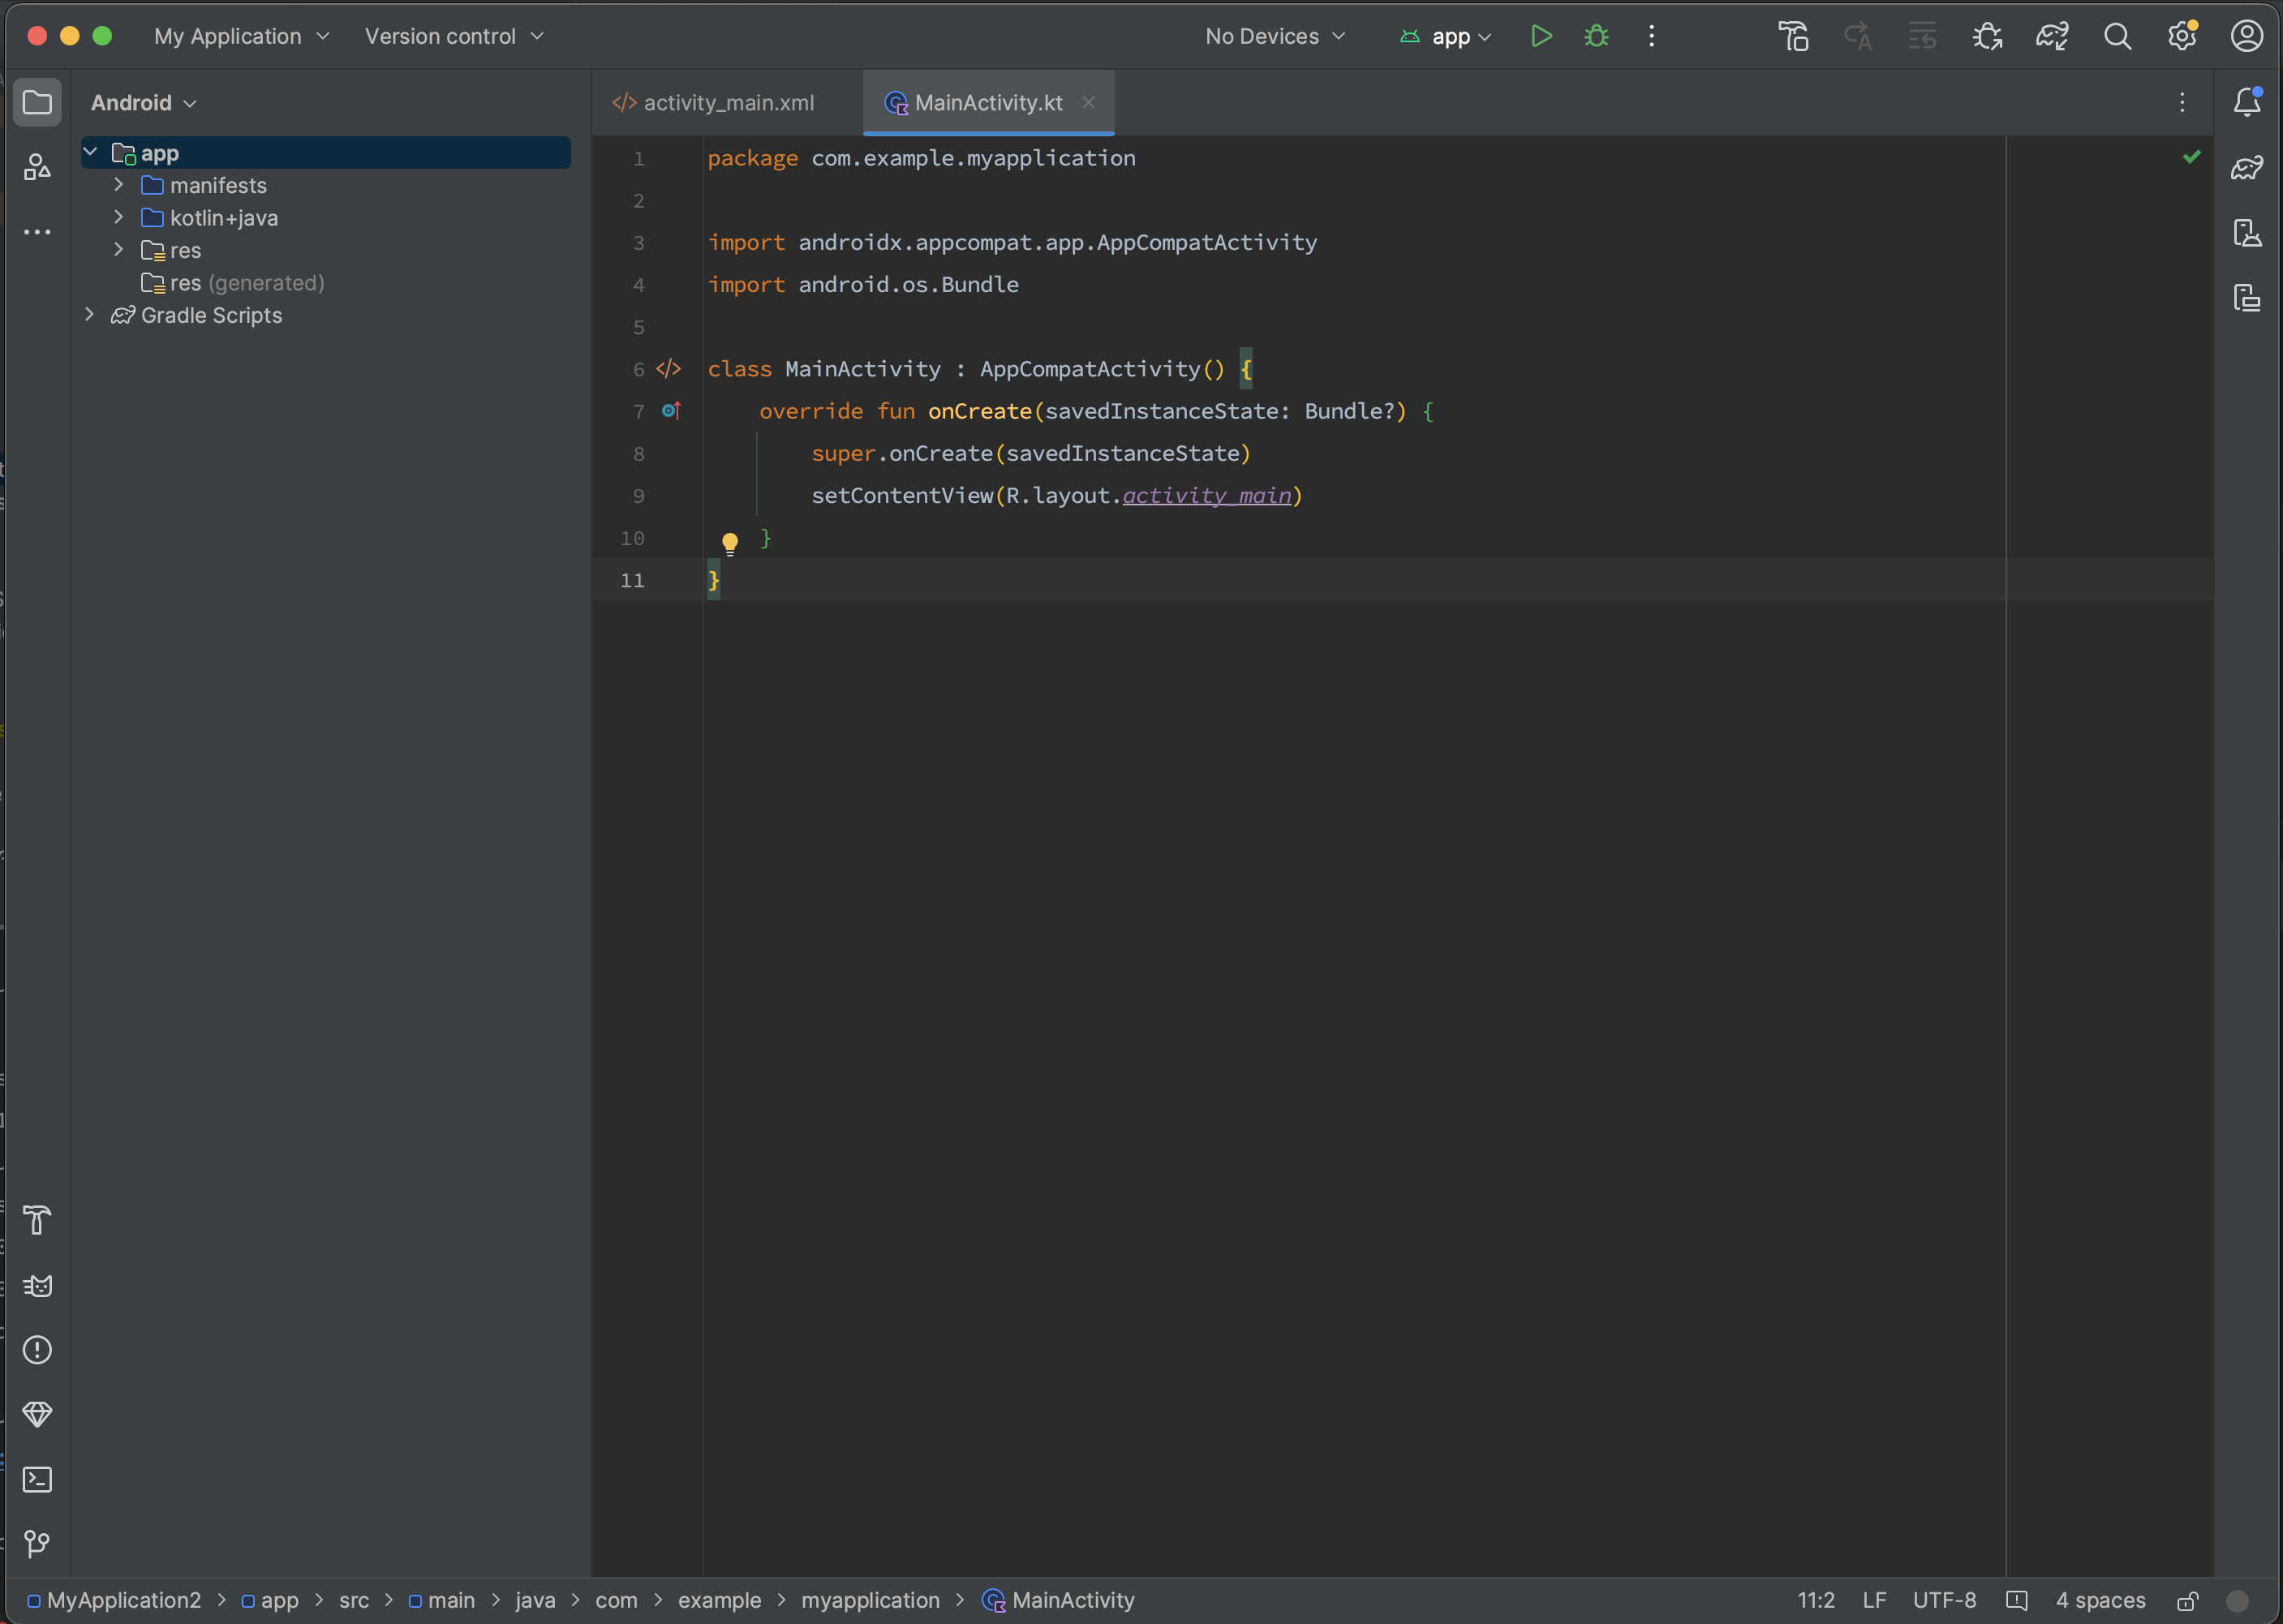
After synchronizing the project, you will see Android Studio with the open project we created. It will look something like this:

In the next lesson, we will create an Android emulator and connect a real device to the computer and even launch our application on them.
Have a question? Ask our community in Telegram - Start-Develop RU / Start-Develop EN